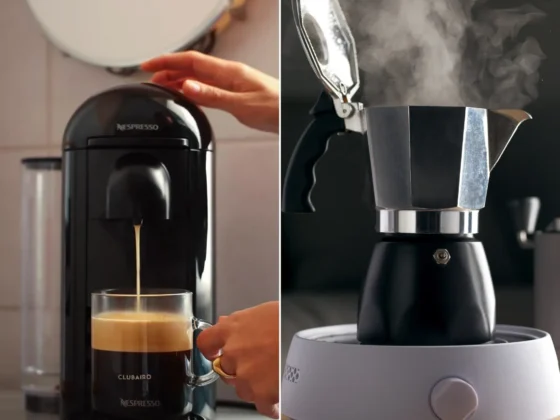
The Moka pot has become a staple in households across the globe, revered for its ability to brew rich and flavorful coffee reminiscent of traditional espresso. However, even the most cherished kitchen companions can face their share of troubles. If you find yourself puzzling over your moka pot not working as it should, leaking coffee onto your stove rather than filling your cup, you’re not alone. A moka pot leaking can disrupt your daily ritual and the enjoyment of that perfect cup of coffee. But fear not, for this is a common issue with often simple solutions.
In this comprehensive guide, we’ll dive into the various reasons your beloved coffee pot might be acting up, presenting you with a clear path to identify the root cause and resolve the issue. From worn-out gaskets to overfilling the chamber, we’ll explore each possibility with an eye for detail and a commitment to getting your pot back to its prime. Whether you’re a seasoned coffee connoisseur or new to the world of stovetop brewing, this article will arm you with the knowledge and confidence to troubleshoot and mend the leaks, ensuring your coffee maker continues to be a source of warmth and comfort in your coffee routine.
Don’t want to read? Press play and enjoy the article as an audio version below.
- Introduction & Key Takeaway
- https://app.mysoundwise.com/tracks/16991421564075947e.mp3
- How to Fix a Leaking Moka Pot
- https://app.mysoundwise.com/tracks/16991422926764270e.mp3
- Maintenance and Care Tips
- https://app.mysoundwise.com/tracks/16991423214195728e.mp3
- Advanced Troubleshooting
- https://app.mysoundwise.com/tracks/16991424926104744e.mp3
- Preventing Future Leaks
- https://app.mysoundwise.com/tracks/16991423816205952e.mp3
- Conclusion & FAQs
- https://app.mysoundwise.com/tracks/16991424250317688e.mp3
Moka Pot Leaking: Key Takeaway
- Check the Gasket Regularly: A damaged or worn gasket is one of the most common causes of leaks in a Moka pot. Regular inspection and timely replacement are essential.
- Avoid Overfilling: Proper filling of the water chamber is crucial. Staying below the safety valve can prevent leaks and ensure the optimal brewing pressure.
- Assemble with Care: Ensuring that all parts of this pot are correctly aligned and tightly secured can eliminate many common leakage issues.
- Maintenance is Key: Regular cleaning and descaling of this pot will prevent buildup that can affect the seal and the overall brewing process.
- Use Quality Ingredients and Correct Storage: Utilizing the right grind size for your coffee and filtered water, combined with proper storage techniques, will extend the life of your coffee pot and improve your coffee taste.
How to Fix a Leaking Moka Pot
Experiencing a leak in your pot can be frustrating, especially if it interrupts your coffee routine. The good news is that many leaks can be fixed at home with a few simple adjustments or replacements. Whether you’re faced with a Moka pot not brewing correctly or just looking to prevent future leaks, here are some definitive steps for Moka pot troubleshooting and getting your device back in tip-top shape.
Replacing the Gasket
- Wear and Tear: The gasket, a rubber or silicone ring that ensures a tight seal between the top and bottom sections of your pot, can degrade over time. This wear and tear might not be immediately apparent, but it is often the primary reason for a leak.
- Inspection Tips: Check your gasket regularly for any signs of hardening, shrinkage, or cracks. A damaged gasket will not seal properly, allowing steam and water to escape.
A damaged gasket is often the main offender when it comes to leaks. Here’s how to replace it:
- Purchase the Right Size: Make sure you buy the correct gasket size for this coffee maker model. Gaskets are not one-size-fits-all.
- Remove the Old Gasket: Use a flat tool, like a butter knife or a screwdriver, to gently pry out the old gasket. Be careful not to scratch the metal surface.
- Clean the Crevice: Wipe out any coffee residue or buildup in the area where the gasket sits. This ensures a clean surface for the new gasket.
- Install the New Gasket:
- Place the new gasket into the groove, pressing down firmly to ensure it’s seated properly.
- Make sure it lies flat and there are no twists or kinks.
- Reassemble and Test: Put your coffee pot back together and make a test brew. No more leaks should be evident if the gasket was the issue.
Adjusting Water Levels

- Correct Water Level: The water chamber should be filled just below the safety valve. Overfilling it can cause the pot to leak as the excess water has nowhere to go but out through the sides or the valve when it expands upon heating.
- Consequences of Overfilling: Not only does overfilling lead to leaking, but it can also cause the infamous moka pot sputtering, which is when water and steam burst erratically through the coffee grounds, potentially resulting in a subpar brew.
Overfilling the water chamber can lead to leaks and poor brewing results. Follow these steps to adjust the water level correctly:
- Find the Valve: Locate the safety valve on the inside of the water chamber. This is your fill limit indicator.
- Measure Water: Fill the chamber with cold water just below the safety valve to prevent over-pressurization.
- Mark It: If you find it difficult to judge, once you’ve measured the correct amount outside of the pot, mark this level inside with a non-toxic, heat-resistant marker for future reference.
- Brew Test: After adjusting the water level, proceed to brew. Observe if the adjustment has resolved the leaking issue.
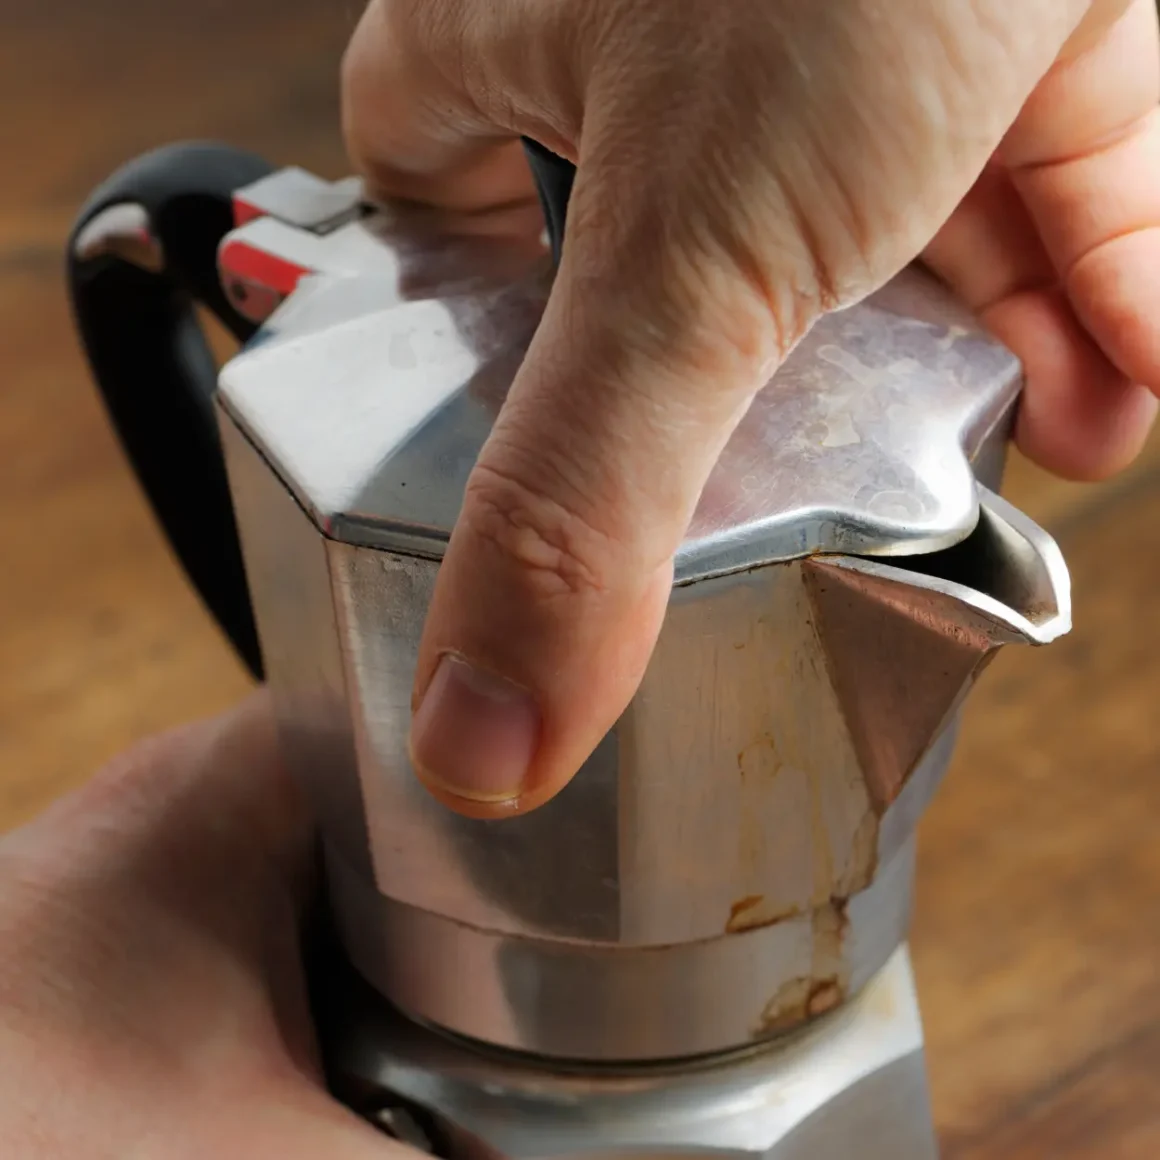
Ensuring Proper Assembly
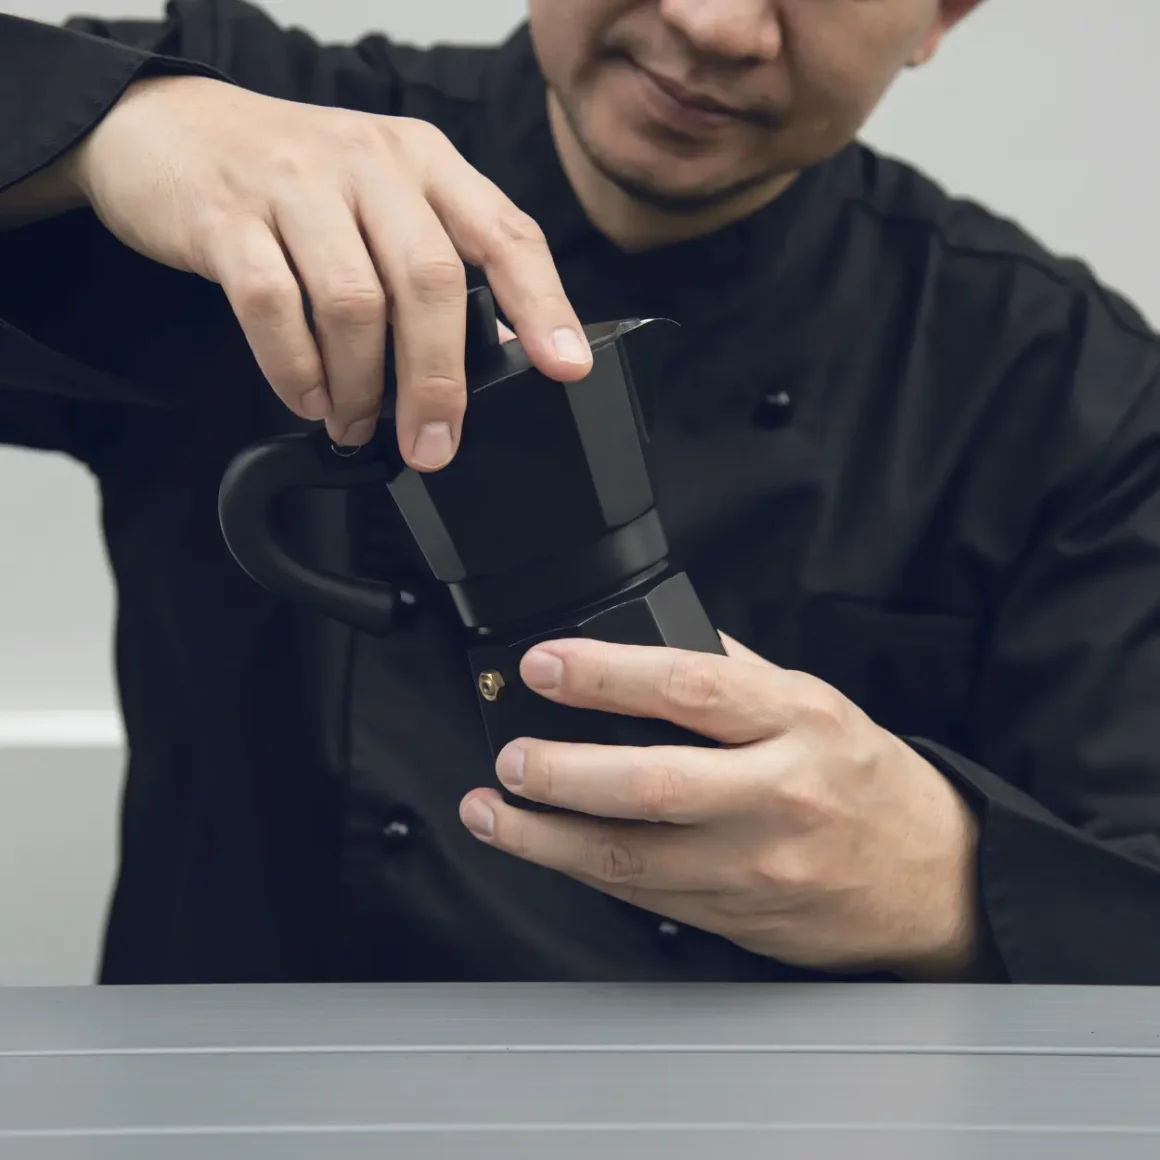
- Component Alignment: Each component of this pot must be aligned correctly to function without leaks. The basket containing the coffee grounds should sit flat in the lower chamber, and the top section must screw on evenly and tightly.
- Common Mistakes:
- Cross-threading when screwing the sections together can cause gaps for water to escape.
- Not emptying old coffee grounds fully or having grounds on the rim can prevent a complete seal.
A stove-top espresso maker that’s not assembled properly won’t brew efficiently and is likely to leak. Follow these guidelines for proper assembly:
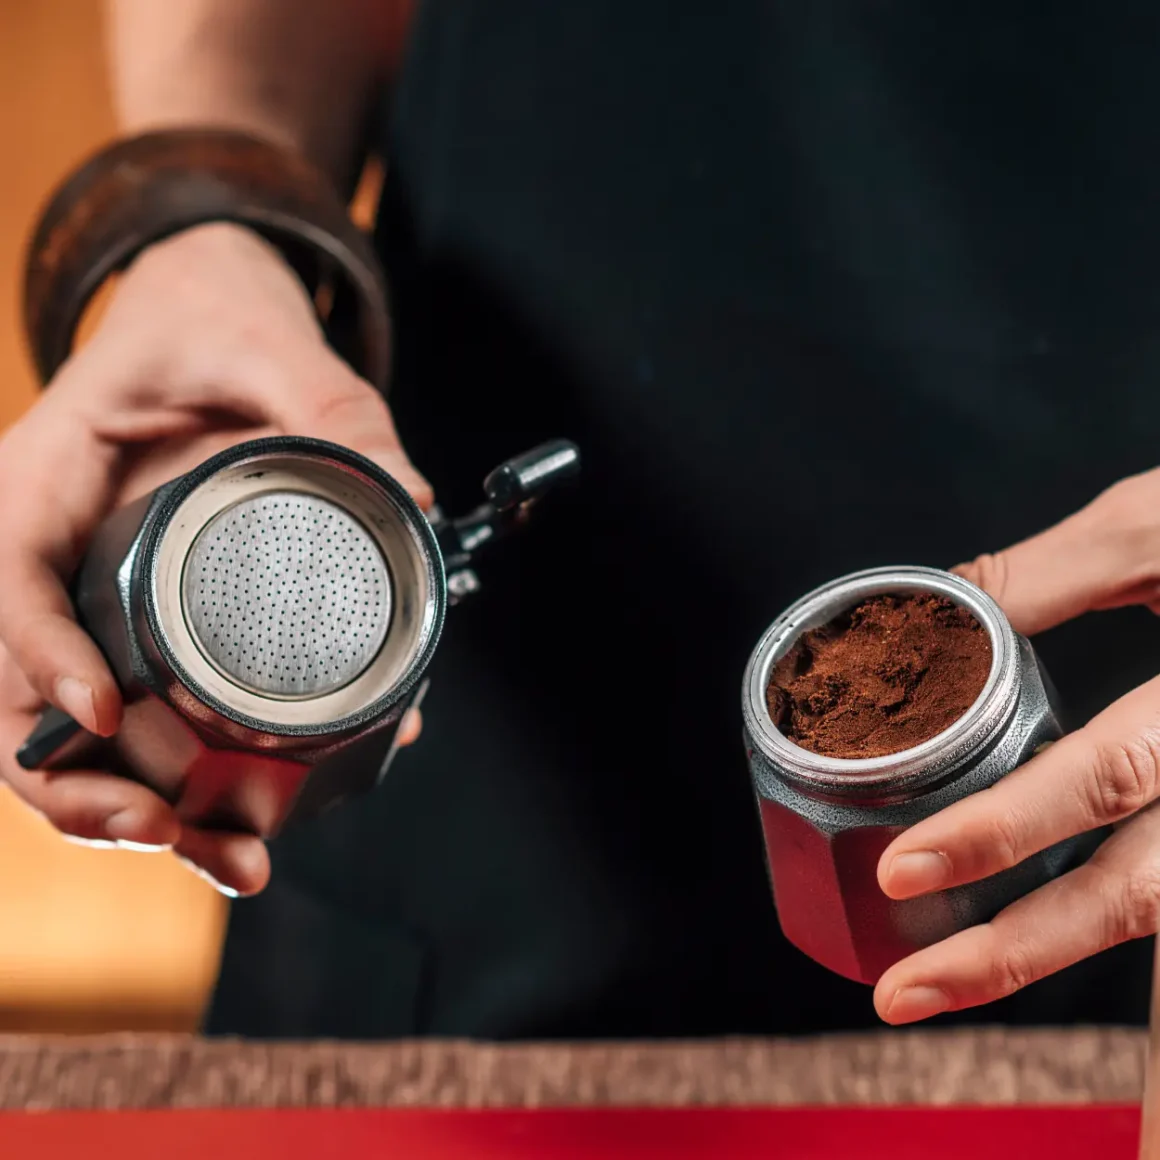
- Check the Filter Basket: Ensure that the basket is empty of old grounds and seated correctly.
- Thread Alignment: Align the threads of the top and bottom sections carefully to avoid cross-threading.
- Screw Tightly: Close the pot firmly, but don’t over-tighten, which can strip the threads and damage the pot.
- Post-Assembly Inspection:
- Look around the seal to ensure there’s no gap.
- The handle should be directly opposite the spout, indicating that the top is screwed on straight.
- Functionality Check: With proper assembly, the pot should not leak. If it’s still not brewing correctly, further investigation into other components, like the valve or the filter plate, may be necessary.
With these practical steps, you can typically resolve common issues that may cause your pot to leak. Regular maintenance and attentive assembly can go a long way in preventing future leaks and ensuring that your coffee maker remains a reliable part of your coffee brewing repertoire.

Maintenance and Care Tips
Regular maintenance is key to ensuring your Moka pot – often referred to as a stovetop espresso maker – continues to function efficiently and lasts for years. The following care tips are designed to help you keep your pot in pristine condition.
Cleaning Your Moka Pot
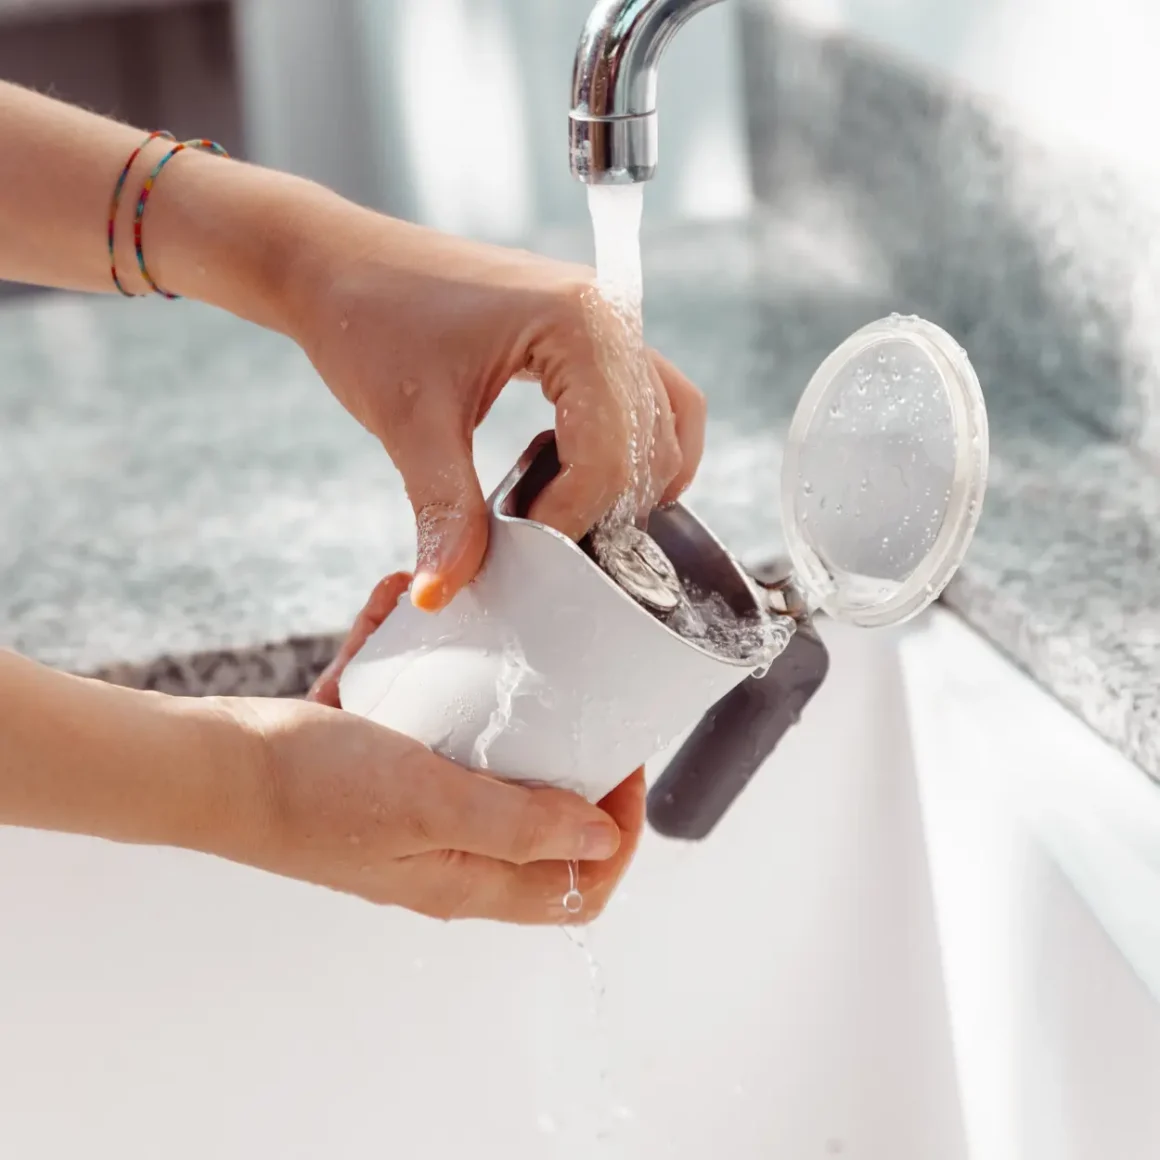
Maintaining the cleanliness of your pot not only prevents leaks but also ensures that your coffee tastes great every time. Here’s how to clean moka pot correctly:
- Disassemble the Pot: After each use, wait for the pot to cool down, then disassemble it into its parts: the bottom chamber, the filter basket, the gasket, and the top chamber.
- Rinse with Warm Water: Wash each part with warm water. It’s best to avoid using soap, as it can leave a residue that affects the taste of your coffee. If soap is necessary, be sure to rinse thoroughly. (1)
- Dry Immediately: Water spots can lead to mineral buildup, so dry all components immediately after washing. Air-drying may leave moisture that can cause corrosion or mold.
- Occasional Deep Clean: Perform a deep clean monthly by using a mixture of water and vinegar to remove any mineral deposits. Ensure a thorough rinse after this process.
Checking for Damaged Parts

Routine inspections can prevent small issues from becoming big problems. Here’s what to look out for:
- Inspect the Gasket: Look for any cracks or brittleness. If you notice any damage, replace the gasket immediately.
- Examine the Valve: The safety valve is crucial for preventing pressure buildup. Make sure it’s clean and moves freely. If it’s stuck or damaged, it may be time for a new pot.
- Look for Corrosion: Check for any signs of corrosion on the aluminum surfaces. Minor spots can be cleaned, but significant corrosion may affect the integrity of the pot.
- Test the Seal: After reassembling, tighten the pot and hold it up to the light. If you see light coming through where the two halves meet, the seal might not be tight enough.
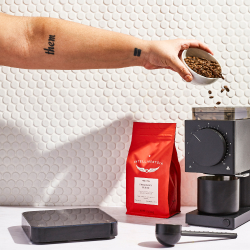
Using the Right Coffee Grind

Choosing the right coffee grind for this pot use can make all the difference in flavor and function:
- Grind Size: The ideal grind for a Moka pot is fine, but not as fine as espresso powder. Too coarse and the water will pass through too quickly; too fine, and you risk clogging and overpressure.
- Freshness: Freshly ground coffee will always yield a better-tasting brew. If possible, grind your beans just before brewing. (2)
- Tamping: Unlike an espresso machine, coffee in a stove top espresso maker should not be tamped down. Simply fill the basket and level it off. Tamping can lead to over-extraction and increase pressure, potentially causing leaks.
By following these maintenance and care tips, your coffee pot should remain a reliable tool for brewing rich and delicious coffee. Regular cleaning, vigilant inspection, and using the right coffee will help ensure that your stovetop espresso maker continues to be an indispensable part of your morning ritual.

Advanced Troubleshooting

Even with regular care and proper usage, a stove top espresso maker can sometimes exhibit problems that require advanced troubleshooting. If you’ve tried the basics and your pot is still leaking or not performing as it should, it may be time to delve a bit deeper to diagnose and rectify the issue.
Identifying Cracks or Damage
To ensure the longevity of your coffee pot, it’s crucial to periodically check for any physical damage that could be causing performance issues. Here’s what to do:
- Inspect for Visible Cracks: Examine the pot thoroughly under good lighting. Look for hairline cracks, particularly in the base and the main chamber, as these can be sources of leaks.
- Check for Metal Fatigue: Aluminum stove top espresso makers can suffer from metal fatigue after prolonged use. If the pot has a warped shape or doesn’t sit flat, it might be time for a replacement.
- Monitor for Joint Weaknesses: Pay attention to the areas where different parts of the pot screw together. Repeated heating and cooling can sometimes cause these joints to weaken over time.
Dealing with Pressure Issues
Incorrect pressure can cause your coffee maker to malfunction, resulting in moka pot sputtering or other brewing inefficiencies. Here’s how to approach pressure-related problems:
- Verify Valve Functionality: As previously discussed, the safety valve is a critical component that regulates pressure. If it’s faulty or blocked, the pressure won’t be released properly, causing leakage and poor brewing.
- Assess Heat Source and Timing: Too much heat can cause overpressure. Experiment with lower heat settings and timing to find the sweet spot where the coffee brews correctly without excessive pressure.
- Ensure Proper Grind and Fill: Using the correct coffee grind and filling the basket appropriately without tamping can prevent overpressure issues, which can contribute to leaking.
Contacting Customer Support
When all else fails, reaching out for professional help can be the best course of action:
- Prepare Your Questions: Before contacting customer support, prepare a list of the issues you’re facing, including any moka pot troubleshooting steps you’ve already attempted.
- Have Your Pot Information Ready: Know your coffee pot’s model and any relevant serial numbers. This will help the support team provide specific advice.
- Seek Expert Advice: Customer support can offer guidance based on vast experience with common and uncommon issues, and they might suggest solutions not available in the user manual.
In advanced troubleshooting, a systematic approach is key. By methodically going through each potential problem area, you can often identify the issue causing your Moka pot leaking or sputtering. However, if the problem persists, don’t hesitate to consult the experts or consider that it might be time for a new coffee pot.

Preventing Future Leaks
The longevity and efficiency of your stove top espresso maker largely depend on preventive measures. Establishing good habits can save you from future leaks and ensure that each cup of moka coffee you brew is as perfect as the last.
Regular Maintenance Schedule
Creating and sticking to a regular maintenance schedule is vital in keeping your pot in great working condition. Here’s a checklist to help you set up a routine:
- Weekly Checks:
- Inspect the gasket and filter for wear and tear.
- Clean any coffee oil residues from the pot, as these can cause bitterness and affect seal integrity.
- Monthly Inspections:
- Check for any mineral buildup due to hard water and clean accordingly.
- Ensure the safety valve is not clogged and operates freely.
- Seasonal Replacements:
- Even if they don’t show obvious signs of wear, consider replacing the gasket and filter periodically, as preventive maintenance.
Using Quality Coffee and Water
The quality of ingredients you use in your pot not only affects the flavor but can also impact its operation.
- Coffee Selection: The best coffee for moka pots is usually a medium-fine grind that resembles table salt. This consistency allows for optimal water flow and flavor extraction without putting undue pressure on the pot.
- Water Quality: Use filtered or bottled water if possible, as this will reduce limescale buildup. Hard tap water can lead to faster mineral deposit accumulation, affecting both the taste of your coffee and the functionality of the pot. (3)
- Proportions: Always measure your coffee and water. Consistent ratios will ensure balanced brewing and prevent overfilling, which can contribute to leaks.
Proper Storage Techniques
When not in use, how you store your stove top espresso maker can affect its condition:
- Separate the Parts: Store the pot disassembled to prevent moisture from being trapped inside, which can degrade the seal and cause mold growth.
- Dry Environment: Keep the pot in a dry place to avoid corrosion or oxidation, especially if it is made from aluminum.
- Avoid Pressure: Don’t stack heavy items on top of the pot when storing it, as this can deform the shape and affect how the parts fit together.
By adhering to a regular maintenance schedule, using high-quality coffee and water, and
employing proper storage techniques, you’ll mitigate common issues and extend the life of your pot. Not only does this make for a better brewing experience, but it also ensures that you can consistently enjoy the rich, full-bodied flavor of Moka pot coffee without the inconvenience of leaks.
Conclusion
In conclusion, understanding why your moka pot may be leaking can save you from the frustration of a malfunctioning coffee maker and the sadness of a coffee-less morning. With the iconic Bialetti Moka Pot or any other brand, the principles remain the same: take care of your equipment, and it will take care of your coffee needs. By recognizing the common issues such as a damaged gasket, overfilling, or improper assembly, you can quickly address these problems and return to brewing the robust moka coffee that starts your day right.
The journey from spotting a leak to sipping a perfectly brewed espresso doesn’t have to be complicated. With the right knowledge and a bit of patience, troubleshooting your coffee pot can be a rewarding process that deepens your appreciation for the art and science of coffee making. Keep this guide handy, and the next time you find a puddle under your pot, you’ll know exactly what to do.
Enjoy your stove top espresso maker adventures, and may your coffee be strong and your mornings be leak-free.
FAQ
How can I fix a Moka pot that is leaking?
To fix a leaking Moka pot, replace any damaged parts like the gasket, ensure proper water levels, and reassemble the pot correctly.
Are there any maintenance tips to prevent Moka pot leaks?
Regular cleaning, descaling, and replacing worn parts like gaskets can prevent Moka pot leaks.
What should I do if my Moka pot has damaged parts?
If your Moka pot has damaged parts, replace them with compatible parts, preferably from the same manufacturer.
How do I ensure proper assembly of my Moka pot?
Ensure proper assembly of your Moka pot by following the manufacturer's instructions, securing all parts tightly, and checking for any misalignments or loose components.